Blurry Design? How to Upscale Low-Resolution Artwork for Print on Demand
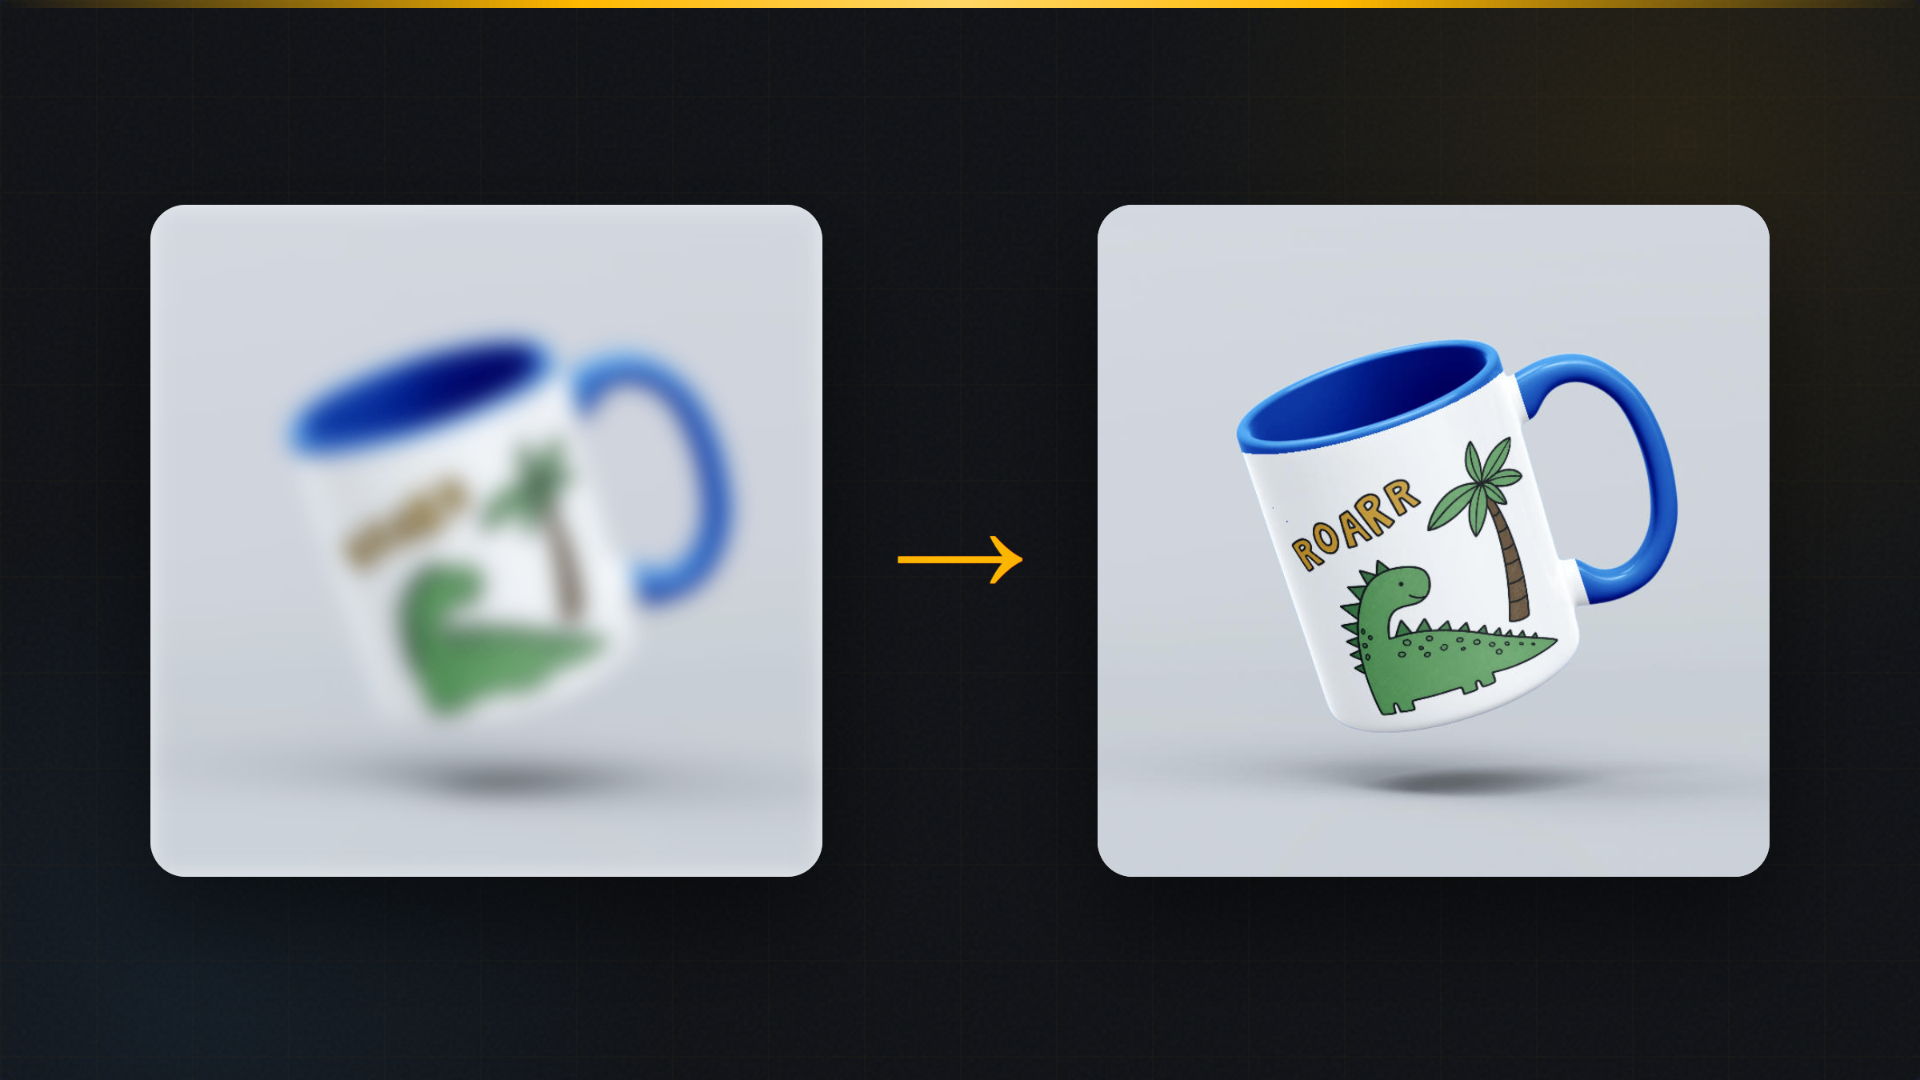
Here's a purchase most POD sellers have made at least once. You find a great design on a marketplace, pay your few dollars, download the file, and discover it's a 1,000-pixel PNG. Lovely on a phone screen. On a printed t-shirt, it's a blurry mess, because a shirt print area wants something closer to 4,500 pixels across.
You now have three options. Ask the designer for a bigger file and hope they answer. Redraw it yourself, which defeats the purpose of buying it. Or upscale it, which ten years ago meant "make the blur bigger" and today, done properly, means genuinely recovering a printable file.
We've printed designs on just about everything over the past decade, and we've thrown away money on prints that looked fine on screen and terrible on fabric. This is the guide to never doing that again.
What resolution do you actually need?
The standard answer is 300 DPI at print size, and it's a good rule, but it's more useful unpacked into actual pixel counts per product:
- T-shirt front print (roughly 12×15 inches): about 3,600 × 4,500 pixels
- Mug wrap (roughly 8.5×3.5 inches): about 2,550 × 1,050 pixels
- Poster at 18×24 inches: 5,400 × 7,200 pixels at full 300 DPI, though posters are viewed from a distance, and 150 to 220 DPI often prints beautifully, so 2,700 × 3,600 can be enough
- Sticker at 3×3 inches: just 900 × 900 pixels, which is why stickers forgive small files
Two things jump out from that table. First, the same file can be print-ready for a sticker and hopeless for a shirt, so "is this file big enough" always depends on the product. Second, DPI on its own means nothing. A file has pixels; DPI only describes how densely you spread them across a physical size. A "300 DPI" file at 2 inches wide is still a tiny file.
Why classic resizing fails and AI upscaling works
When you enlarge an image in a basic editor, the software stretches the pixels it has and averages the gaps. Edges go soft, lines go fuzzy, and text becomes the first casualty. That's why "just resize it to 4500px" produces prints that look like they were photographed through a shower door.
AI upscaling works differently. Instead of stretching existing pixels, it predicts what detail should exist based on what's in the image: it re-sharpens edges, rebuilds texture, keeps lines crisp. For flat illustrations and typical POD artwork, the results are honestly startling, and this is exactly the kind of file the method handles best. Clean vector-like shapes, bold lines, limited color palettes.
Our upscaler in MockItReal takes a design and outputs up to 4K in one click. There's no settings maze; you pick the output size, it runs in seconds, and the result lands in your library next to the original. We use it ourselves whenever a purchased design or an older file from our own archive turns out smaller than a product needs.
What upscaling honestly cannot do
We'd rather tell you this than have you learn it on a printed hoodie.
Upscaling recovers files that are moderately too small. It cannot invent detail that was never there. A 200-pixel thumbnail dragged off a website will upscale into a smooth, clean 2,000-pixel image that still contains 200 pixels of actual information. Fine for a background element, not fine as your hero artwork.
The practical rule we use: if the source is at least a third of the target size and looks sharp at 100% zoom, upscaling will get you to print quality. Below that, treat the result as a draft and look for a better source file.
Compression damage is the other limit. A JPEG that's been saved and re-saved carries blocky artifacts, and an upscaler will faithfully enlarge those too. Some of it can be cleaned in the same pass, but a pristine PNG source always beats a battered JPEG.
The five-minute workflow
- Check what you have. Open the file properties and read the pixel dimensions. Compare against the product table above.
- Upscale to the product's target, not to the maximum available. Bigger files upload slower and gain nothing past print resolution.
- Zoom to 100% and inspect edges and text. This is the honesty check. If letters look melted, the source was too small; go back for a better file.
- Test on the actual product mockup. A design that's sharp as a square file can still sit badly on a curved mug. Rendering it on the product first costs seconds and catches surprises.
- Keep the upscaled master. Store it next to the original so you never repeat the work for the next product.
Steps 2, 4 and 5 all happen inside MockItReal, which is not an accident. Upscale a design, drop it straight into a product template, and both files stay in your library. The free plan covers enough renders to test this on a real design today.
The economics, because this is a business
A blurry print doesn't just look bad. It's a refund, a one-star review that mentions "quality", and on marketplaces those reviews compound. One bad print can cost more than a year of upscaling tooling.
The flip side is also real: sellers sit on archives of older designs that were made for smaller print areas years ago. Upscaling turns that dead inventory back into publishable products for a few clicks each. If you have a folder of designs you stopped using because "the files are too small", that folder is money.
FAQ
What DPI do I need for print on demand? 300 DPI at the printed size is the safe standard for anything viewed up close, like shirts and mugs. Posters viewed at a distance print well from 150 to 220 DPI. Always convert this to pixels: inches × DPI = pixels needed.
Can I upscale a screenshot or web image and print it? Technically yes, practically no. Web images are usually too small and too compressed to reach clean print quality, and there's also the small matter of usage rights. Upscale files you own that are moderately undersized, not thumbnails.
Does upscaling change my design's colors? No. Upscaling adds resolution, not color edits. If your print colors look off, that's a color profile question, not a resolution one.
Is 4K enough for every product? 4K (around 4,000 pixels on the long edge) covers shirts, mugs, totes, and most standard products at full quality. Very large posters and banners can want more, but they also tolerate lower DPI because of viewing distance, so 4K handles almost everything in a typical POD catalog.
MockItReal turns one design into every image your store needs: mockups, AI product photos, marketplace-ready shots and every size, with AI upscaling built in. Free plan: 10 mockups a month, no watermark, no card. Start free.